
Changing a faucet part might be an easy task and easily done by a plumber, yet most homeowners can do it with the correct instructions. Aquasource faucet parts are durable and stylish products, and just like other plumbing fixtures, plastic ones may wear and tear. Learning to replace faucet parts in the Aquasource faucet can ultimately save you tens of dollars, even hundreds, in repair costs and time waiting in lines to get it done.
Understanding the Role of Different Aquasource Faucet Parts
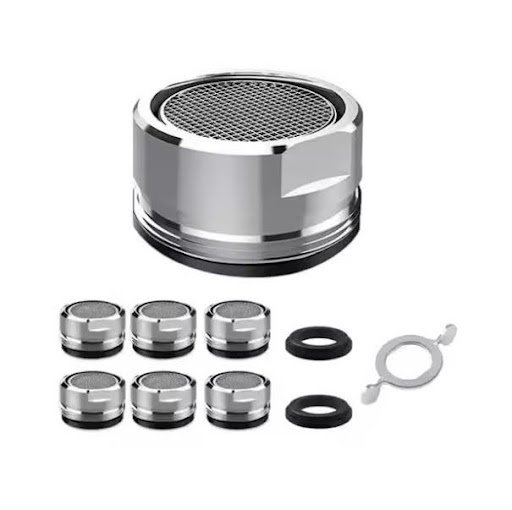
Aquasource faucets consist of various products, with each corresponding to a certain duty. In case of failure, it may influence the performance of the faucet as a whole.
One of the most changed is the cartridge. It regulates the temperature and pressure of the water, and once it goes bad, it may cause constant dripping or unequal warmth of the water. Seals and washers made of rubber are also pertinent for the elimination of leaks. Such minor, cheap components have a significant effect on the performance.
Cosmetic wear or damage on these handles causes loss of the handle, and it is replaced. They also come easily to update the appearance of your faucet. Ornamental caps and trim items are subject to cracking or fading with age, though this is easily remedied by using a demanding model number.
Steps for Replacing Aquasource Faucet Parts
Aquasource faucet repair involves removing and replacing the various parts in a slightly different process, depending on the part in question; however, there are general steps that can be used to repair most components.
The first step is Problem Identification.
Is your tap leaking or difficult to rotate, or lacking in water pressure? Identification of the problem will assist you in knowing precisely where to replace.
Step 2: Switch off the supply of water.
Close the water valves beneath the sink before starting to do any work. This discourages accidental leaks and eases removal.
Step 3: First, Remove the Bad One
Remove the defective component using the correct toolset, which happens to be either a wrench or a screwdriver. Keep the screws, washers, or small parts in check.
Step 4: Put on the New Part
Install the new part, making sure that it is neatly plugged and screwed. A tight fit is essential on cartridges or valves so as to avoid leakage.
Step 5: Test Faucet
Restart the water and see that there are no leaks or any problems in functioning. In case the faucet does not work properly, even then, recheck and ensure that you installed all the parts in proper sequence.
Where to Find Reliable Aquasource Faucet Parts
The important step in repairing with success lies in finding the right piece of a new part. To find the faucet model number is best done by seeking the original packaging (for a new faucet), the instruction manual, or, in some cases, it is marked in the body of a faucet. By using this number, you are guaranteed to buy a compatible part.
Authentic Aquasource faucet components are sold in big box home improvement stores, neighborhood plumbing companies, or online. Original specifications parts have been made to fit and are better in service life.
Third-party compatible but less reliable solutions can be utilized, but only in cases when they match the quality and sizing.
Conclusion
Changing Aquasource faucet components is one of the items that the homeowner can easily do with a little bit of planning and time. Knowing what part to focus on, and installing it yourself can make your faucet last for years, whether it is the cartridges or handles. With proper tools, clear steps to follow, and quality parts, you can confidently have the job done and avoid expensive repair service bills